Releasing my chemistry tutor app Atomdash natively for visionOS
Published January 25, 2024
In just over a week from now the Apple Vision Pro will launch and along with it version 1.0 of visionOS. This is my account of the process of getting my chemistry tutor app Atomdash ready for this new platform.
From the outset, let me just say, this post will be short. Like a lot of developers, my app ran on the Vision Pro simulator pretty well out of the box in its 'Designed for iPad' state.
If I were happy to accept a bit of ugly UI and a clunky user experience, I more or less could've just let it go out like that.
But with a relatively small amount of effort, I can have Atomdash native to visionOS from day one.
Design for iPad/iPhone vs. Apple Vision
When you open Xcode 15.2, Support Destinations now shows Apple Vision (Designed for iPad) or Apple Vision (Designed for iPad) as a supported destination for your target straight out of the box. If you don't do any specific work to support Apple Vision, your app will run this way on visionOS. If you choose to go with this option, your app will show as designed for iPhone/iPad and retain the normal round square app icon. visionOS natives will have a layered circle icon.

The process
To support visionOS natively, we just add the 'Apple Vision' destination, which will replace the 'Apple Vision (Designed for iPad)' destination. From there it's a matter of going through each screen of your app adjusting the UI to work with visionOS and rearranging your app structure to feel more like a visionOS native.
Hoisting State
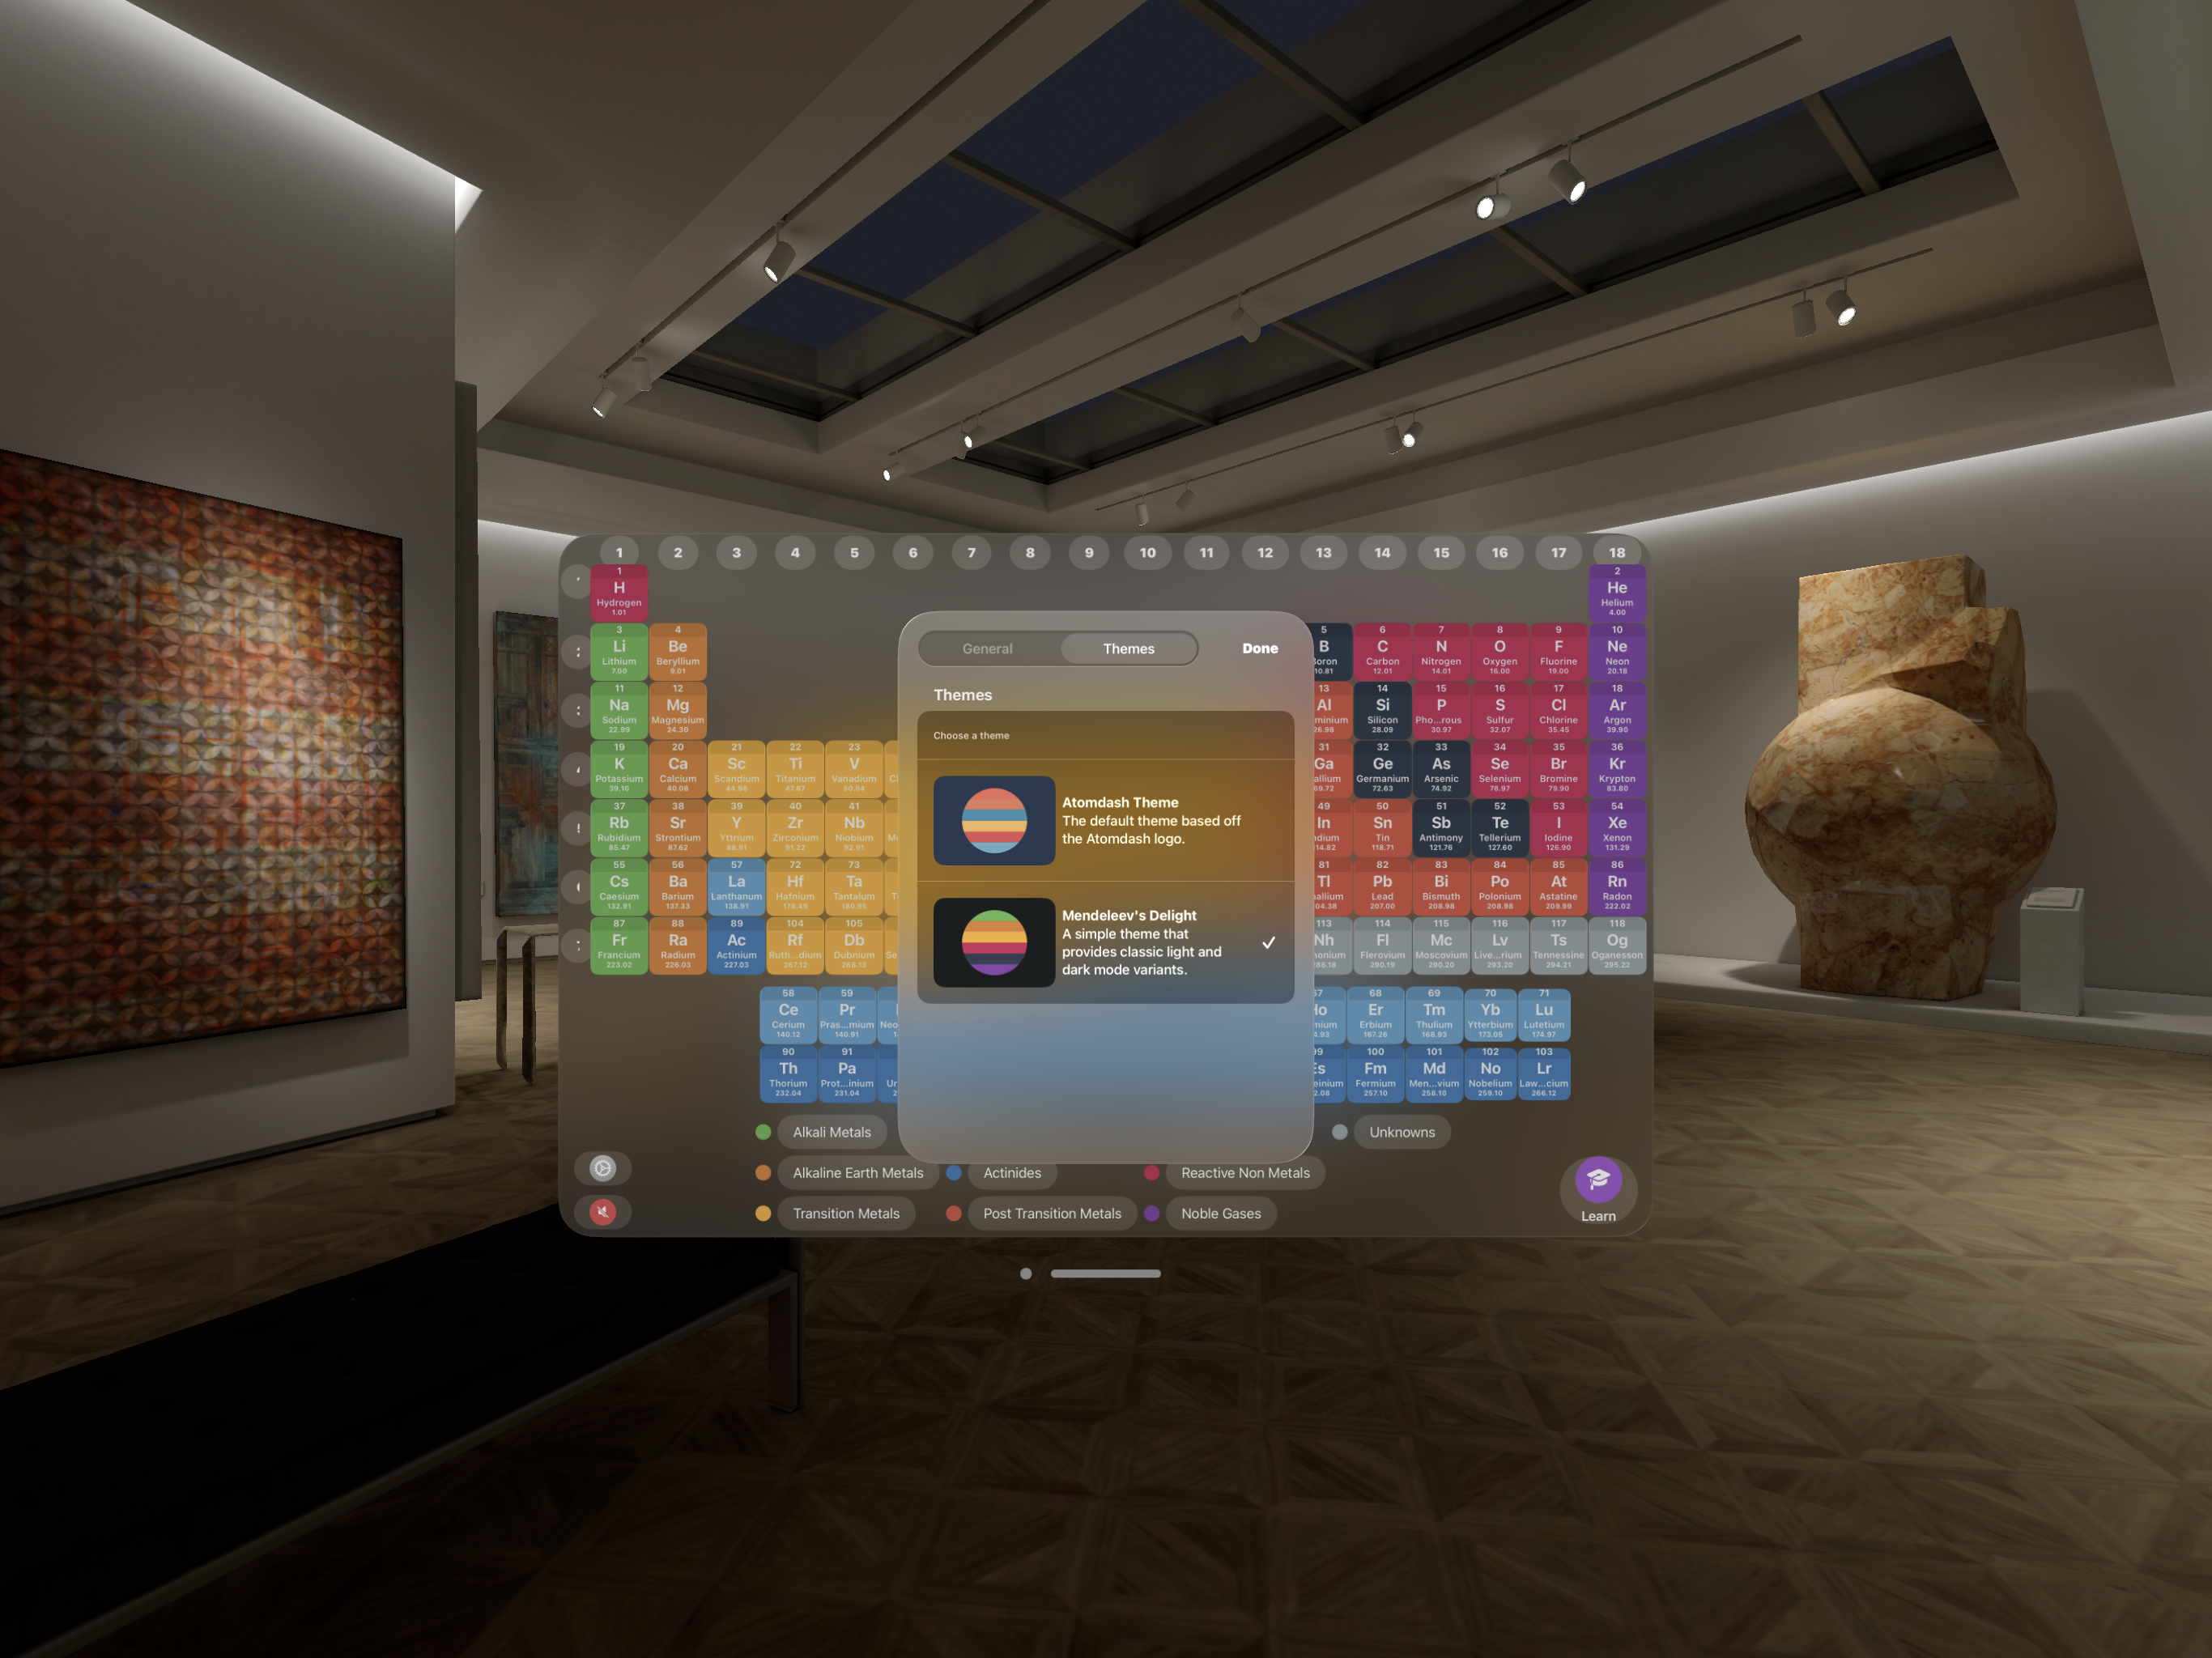
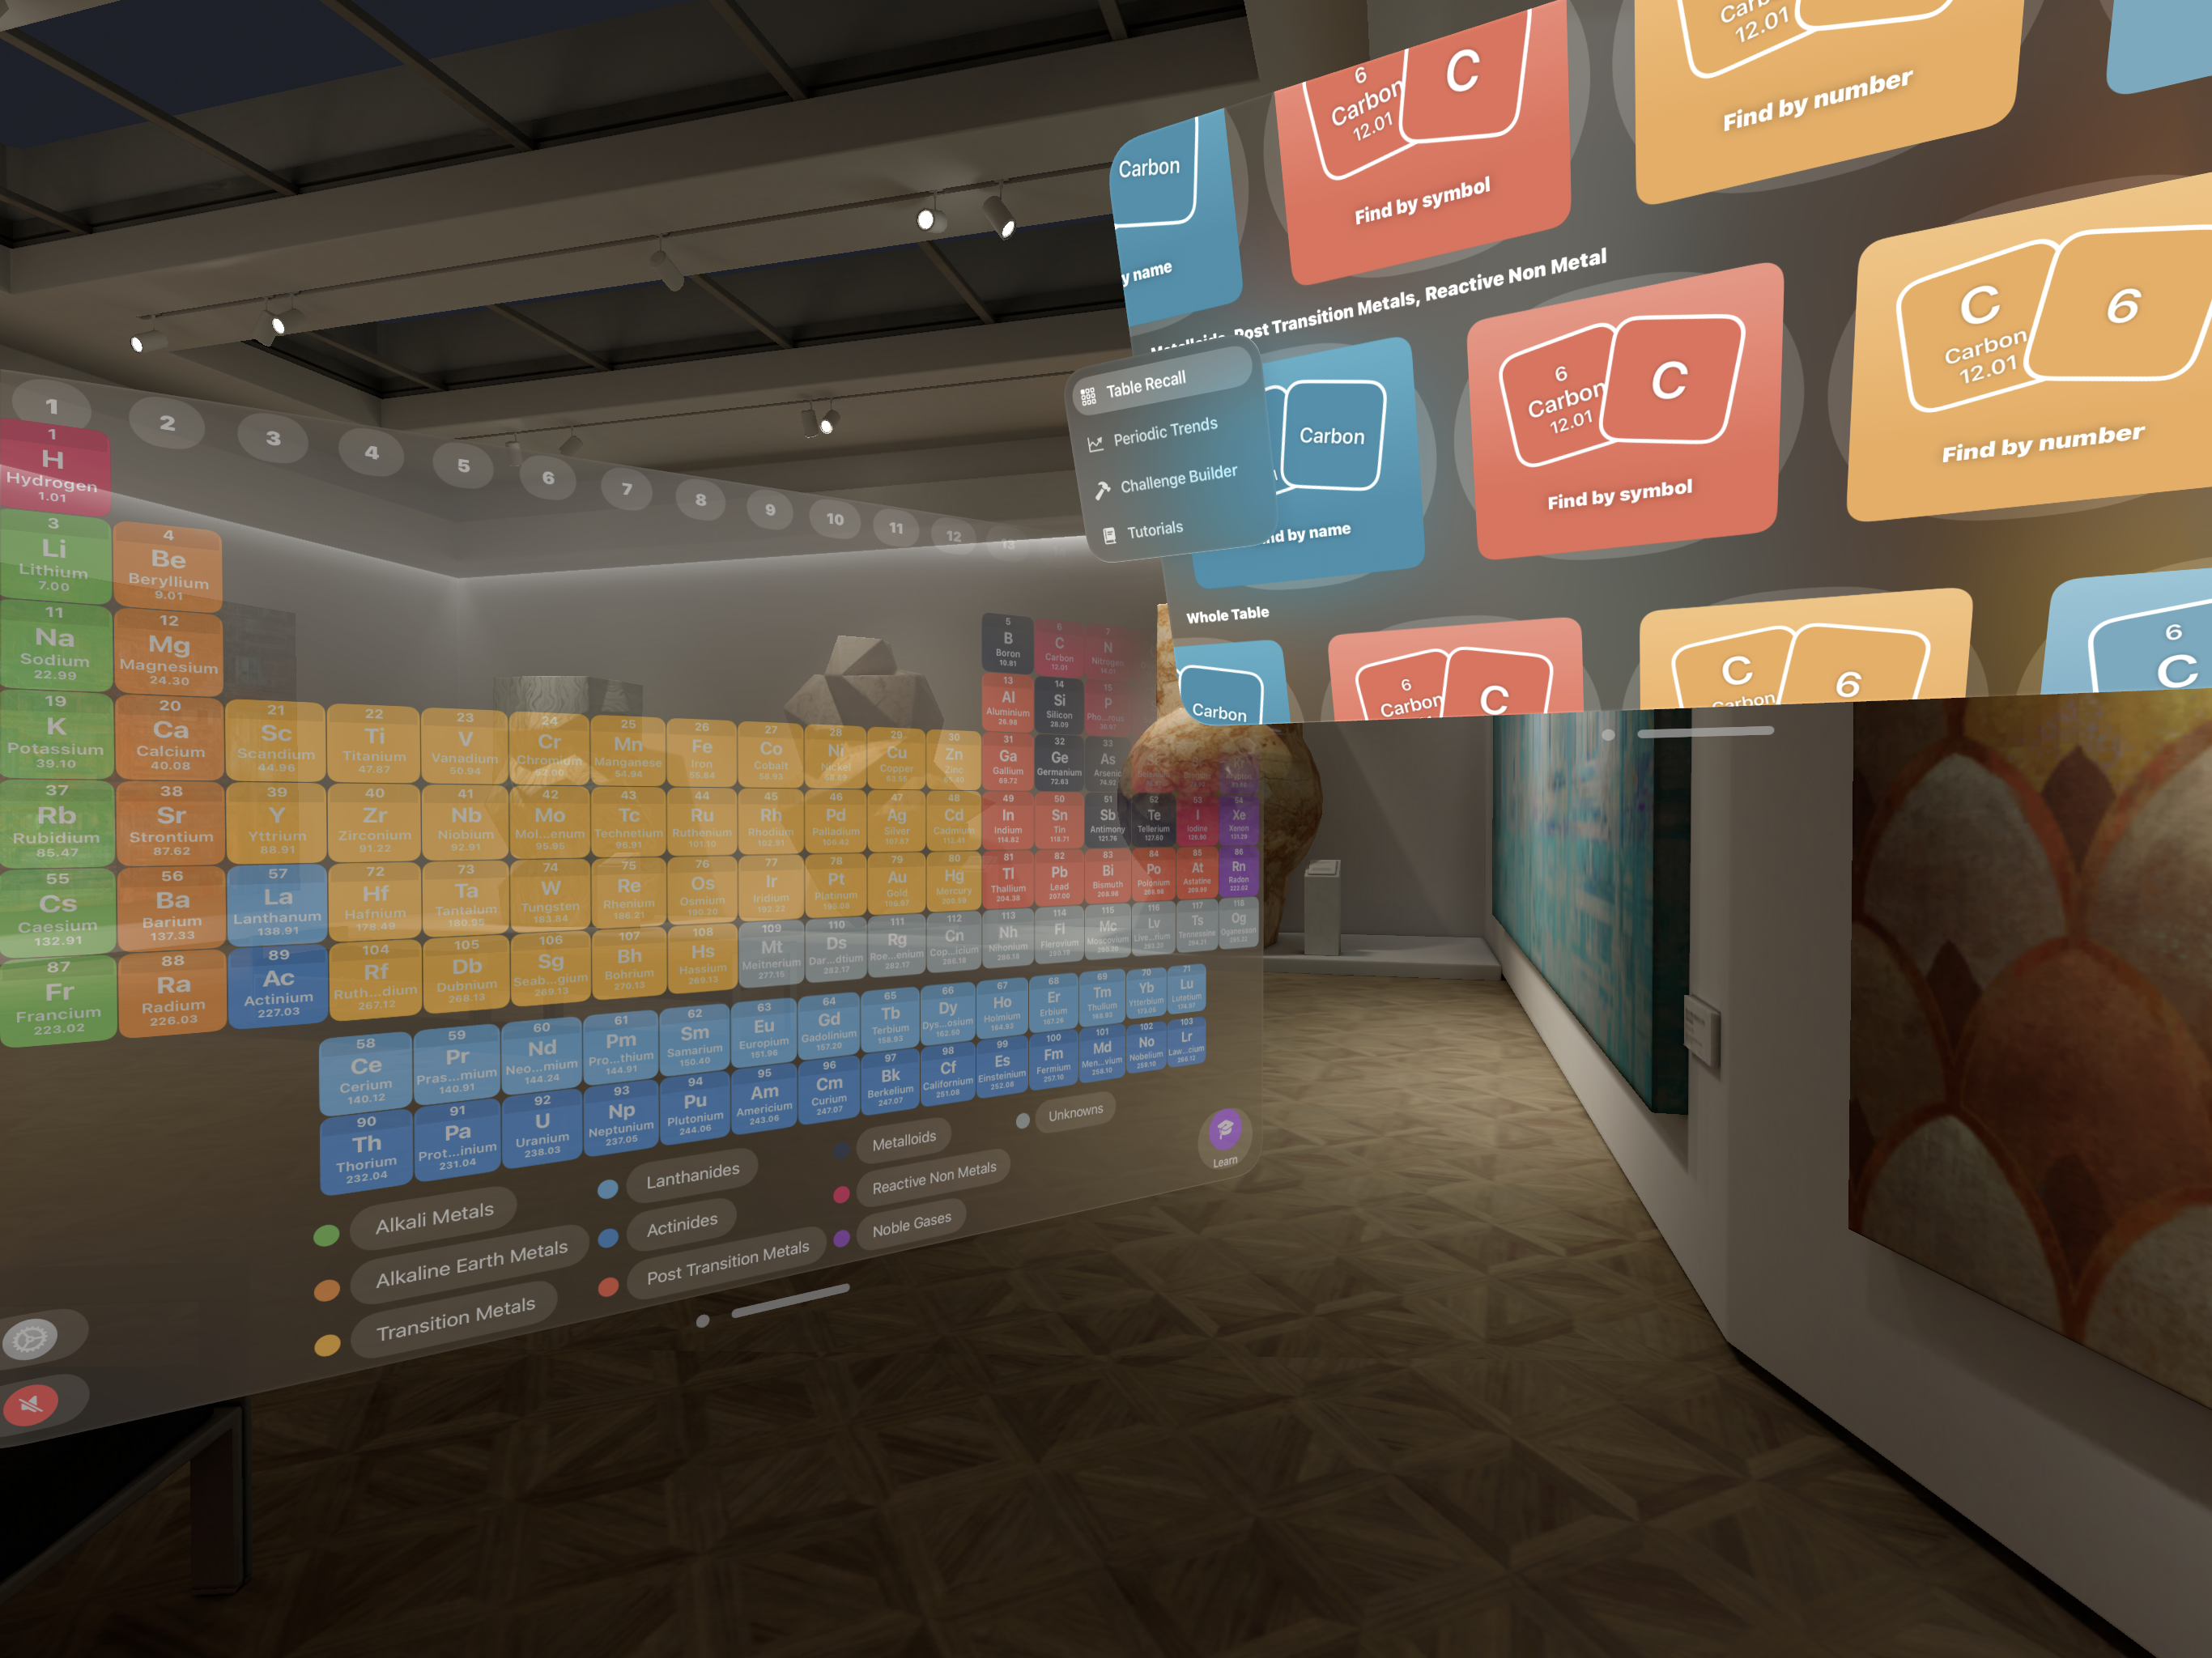
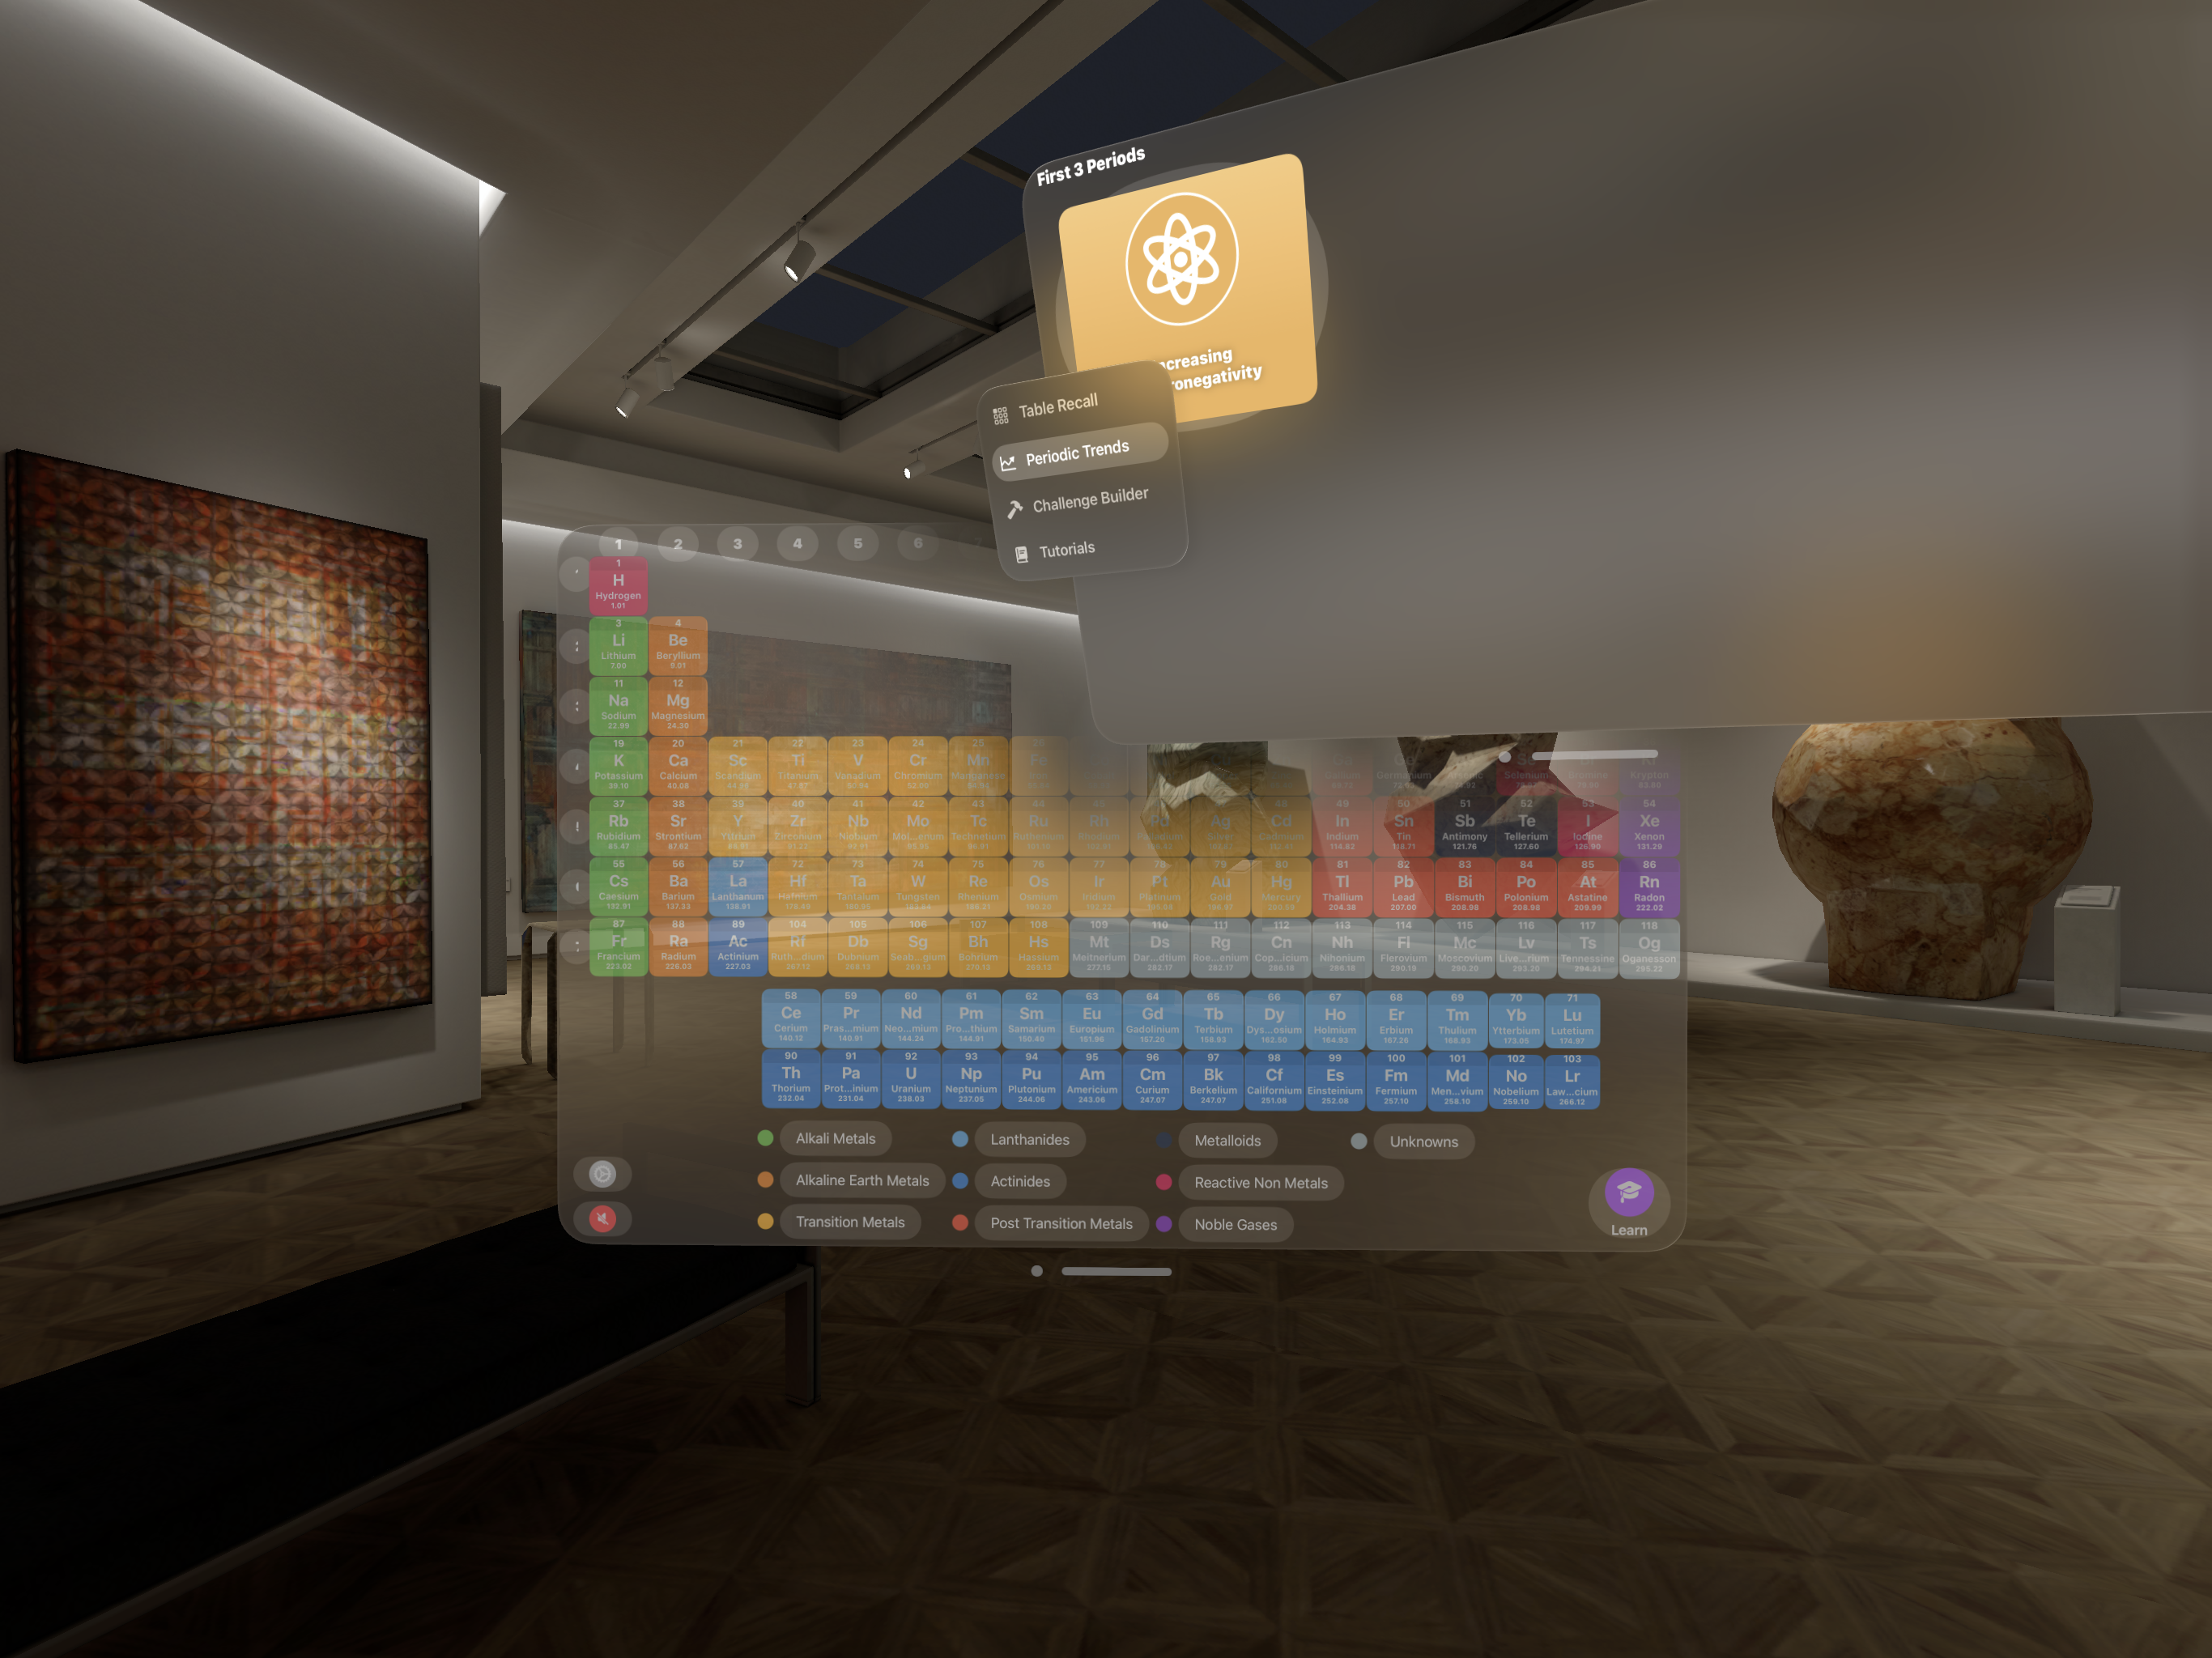
In my experience, and I imagine the experience will be similar for most developers, the process of supporting visionOS natively could mostly be described as hoisting state to the @main level where the main OurApp: App struct is and adding WindowGroups to house UI that was either a popover or sheet in the iOS and iPadOS versions.
This will mean refactoring your codebase so those UI elements can stand alone if they don't already. Then adding them to a WindowGroup with an id, hoisting any state i.e. ObservableObjects associated with those UI up to the @main level and then replacing any calls to popover etc. to openWindow(id: "id").
To get access to openWindow and dismissWindow, bring them in from the environment:
@Environment(\.openWindow) private var openWindow
@Environment(\.dismissWindow) private var dismissWindow
If you target less than iOS 17 in your current iOS target, you can wrap those in the #if os() macro:
#if os(visionOS)
// do a visionOS thing 🤘🏻
#endif
UI
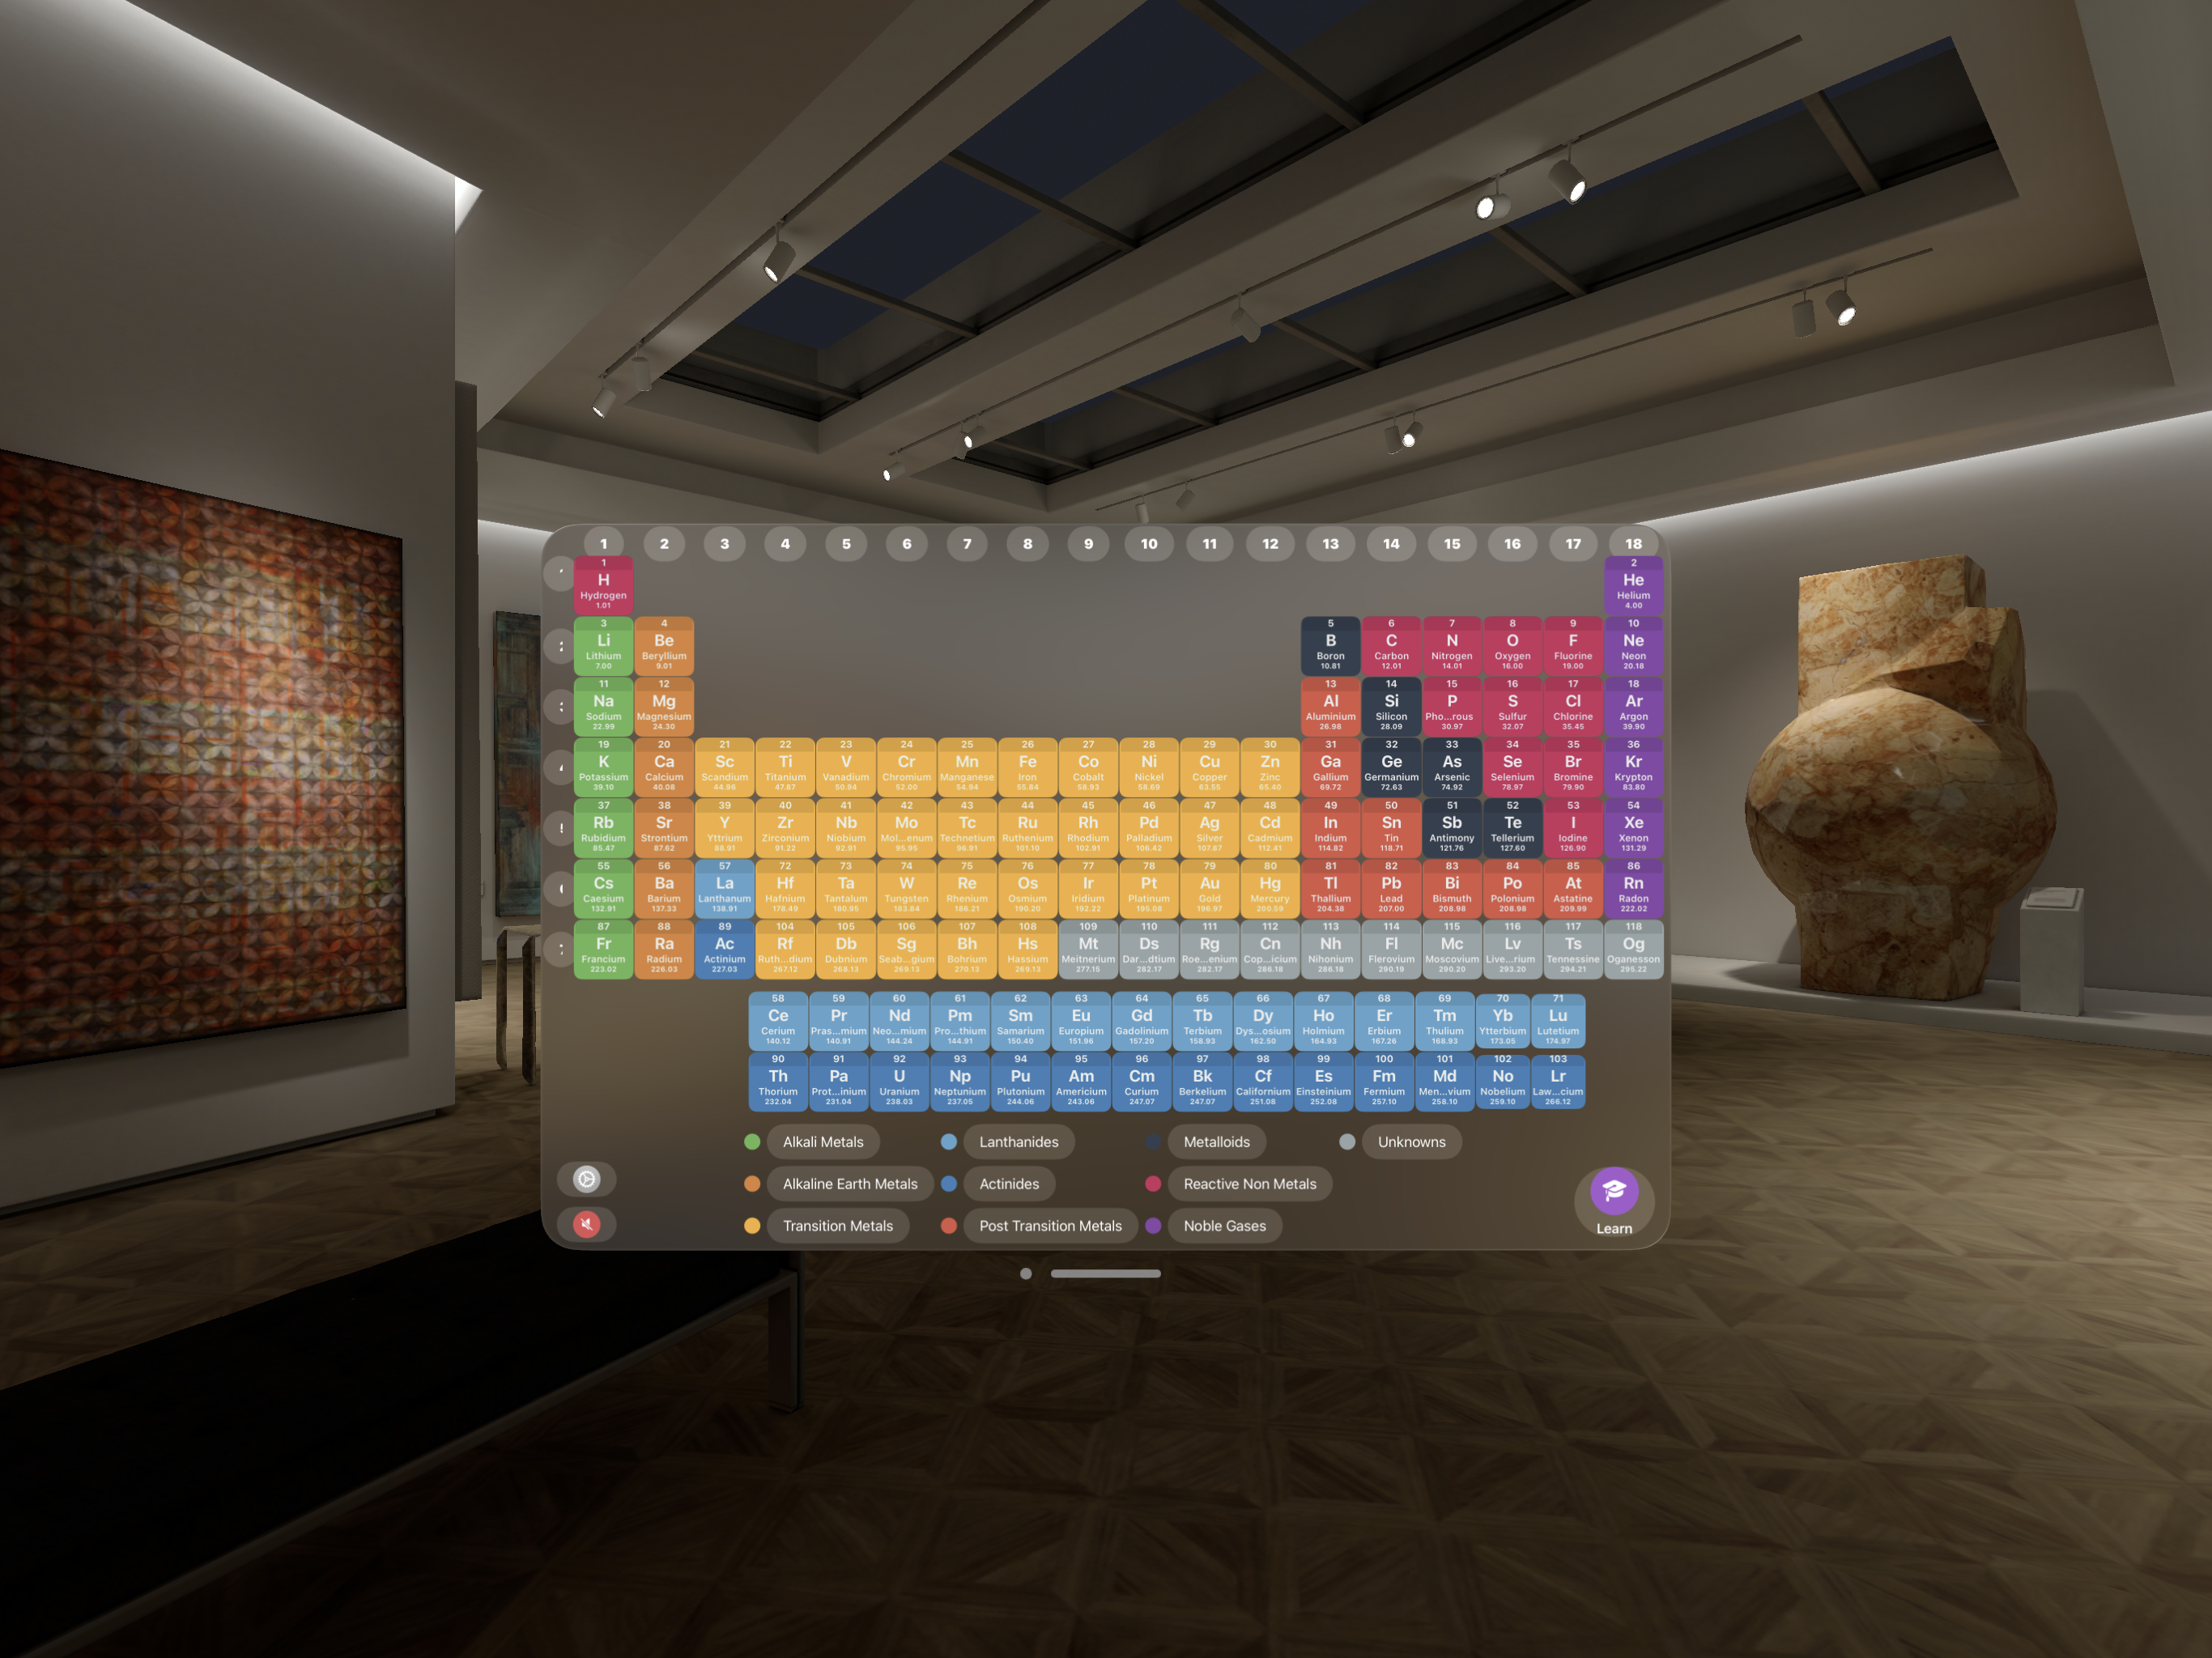
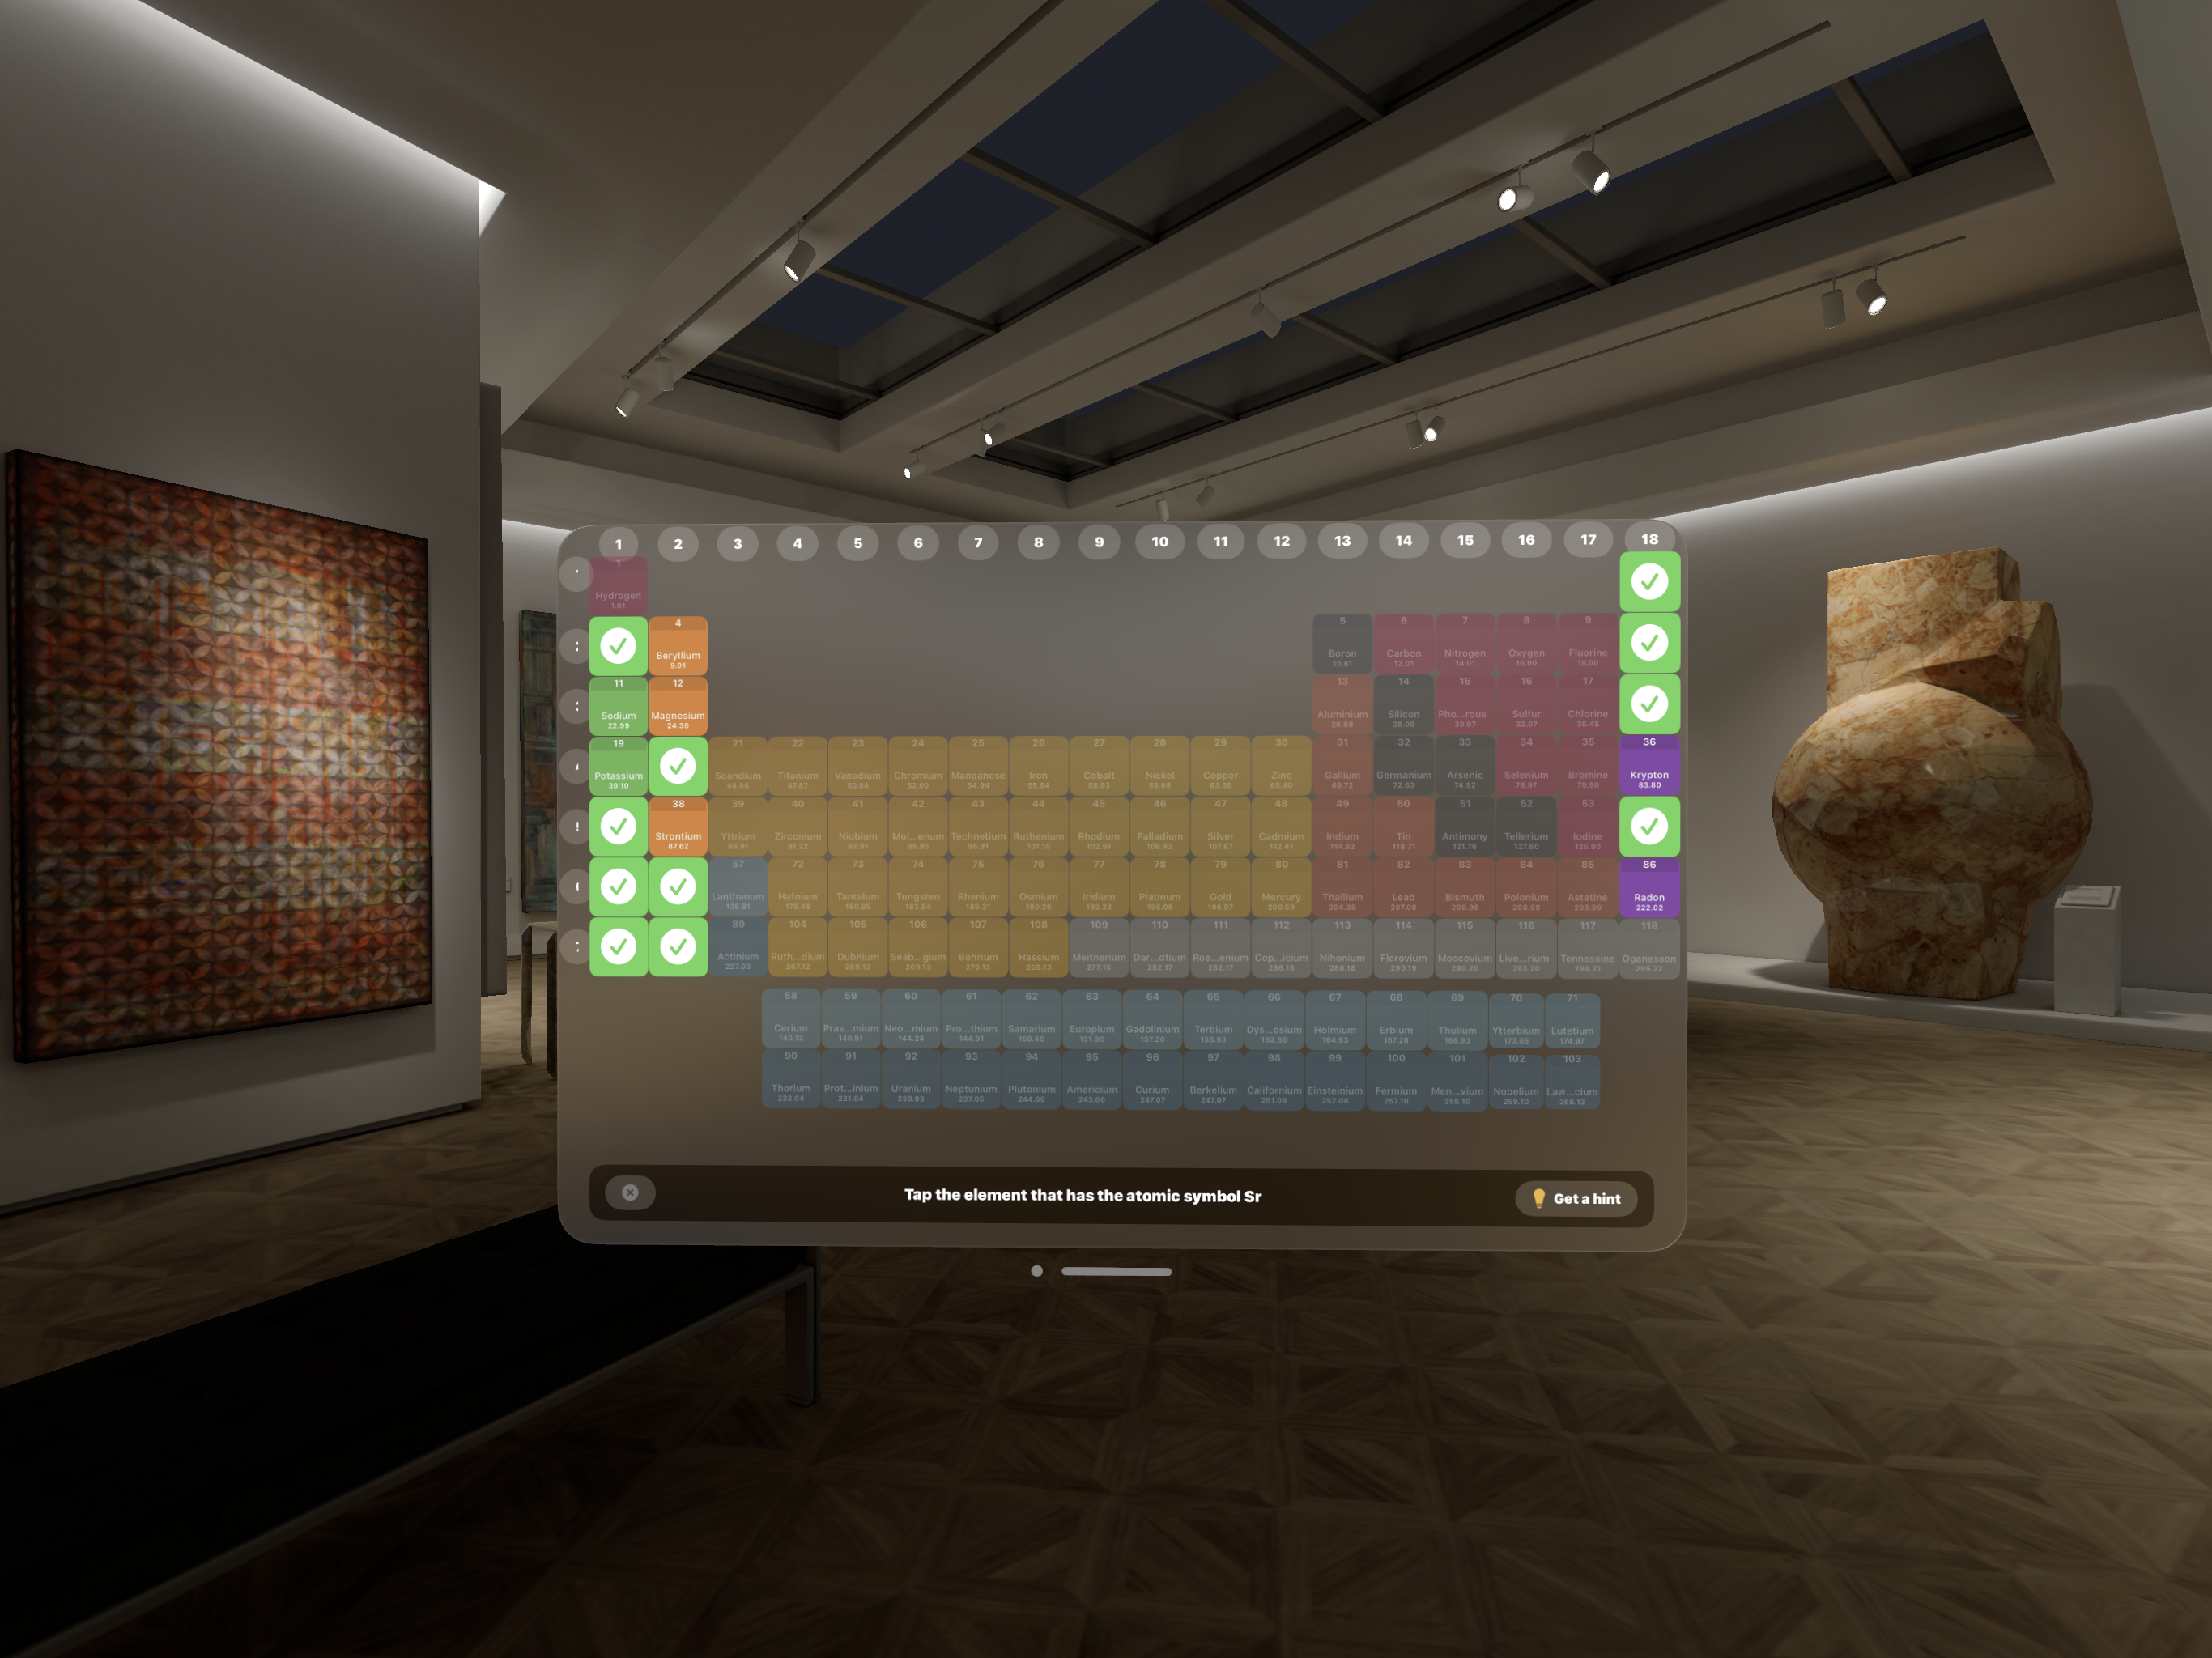
In the case of Atomdash, getting the UI ready for visionOS was a combination of removing background modifiers so that UI elements would sit on the translucent material backgrounds of the visionOS surface windows, specifically adding .regularMaterial background modifiers to other components, removing coloured texts, and resizing things.
I used preprocessor macros because I only had a small handful of UI changes to make. If I had to make more significant changes, or if you do, I would go down the path of creating a separate target for visionOS. Atomdash is reasonably well setup for this kind of architecture with most things already existing in their own frameworks. But in my case, it would have been overkill to create a new target.
Support for tvOS and macOS are on the roadmap for Atomdash, when I get to this work it might make sense to swap out the preprocessor macros for checking for multiple scene support instead.
A note on .defaultSize(width:height:depth:in:)
Currently the official documentation says this modifier is only available on volumetric windows .windowStyle(.volumetric) but this modifier does work on plain windows as well. Which seems absolutely necessary.
Icon
visionOS like tvOS requires a layered icon. For visionOS there are 3 layers. Unfortunately the Atomdash logo isn't easily split into layers, but I got a build error trying to use only a single layer. I tried with 3 layers all of the flattened logo image and that worked and got through approval. Not an ideal solution, but it will do for now.
App Store submission
This really isn't any different to deploying to any other platform. There are 2 minor gotchas
- Binary not showing up in the builds for visionOS
Even though we've added the visionOS supported destination, the binary defaults to the iOS base SDK. Change this in the build settings under Architectures -> Base SDK to visionOS.
- Screenshots
The App Store requires visionOS screenshots at 3840 . 2160 but the visionOS simulator takes screenshots at 2732 . 2048. I just brought my screenshots into Photoshop and enlarged them without messing up the aspect ratio. My app was approved so this seems to be acceptable.
That's it
Shortly after starting to write this post, Atomdash for visionOS was approved for the App Store. The first Apple Vision Pros and visionOS 1.0 will be in the hands of real users in just over a week on Feb 2nd and Atomdash will be available as a native app in the new App Store on day one, which I'm thrilled about.
I'll continue to improve my support for the platform in the coming months.